In this article we will show you how to do a chic chignon in papillon style. This low chignon bun is one of the most popular styles as it looks so stunning. It fuses traditional, time-less fashion with a modern appearance to create a stunning updo. Furthermore, you will learn how to separate your hair in the back and style your low chignon while making lines on the hair.
The first step in creating this chignon style is to separate your hair from one ear to the other. A hair clip will be useful for holding the separated hair on the crown. Hold the remaining hair with a hairpin on the lower back.
The process continues on top of the head by creating lines on this part of the hair and attaching it to the lower part at the back. It is not necessary to spray your hair with hair spray first before creating the lines. To style your hair, first choose the lines you want, then pull the hair with your fingers. Once the lines have been formed, spray the hair with hair spray.
The lines should be shaped and formed. To make this chignon look bold, you should pull out the layers even more on one side to create the boldest lines possible. It is not advisable to use styling spray at this point. Styling spray will cause frizz to appear in your hair.
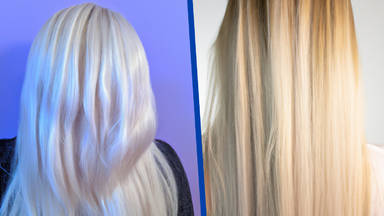
Adding volume to the hair can be achieved with volume powders, which are products that also make the hair lighter. Using a volume powder will help you style your hair more effectively and preserve the lines of your hair as well.
It is also possible to use shine sprays at this stage. Despite the fact shine sprays are hair products that add oil to the hair, but they won't make it heavy or oily. There is no way to make the hair hold better with a shine spray, but it is able to reduce frizz and make the hairstyle look neater by reducing the amount of hair frizz.
The same technique should be used to create the lines all over the back of the head once you have made three lines on the hair. In order to achieve the best results, you should not perform each of these two step in a separate order and instead work on the hair layers on the sides simultaneously.
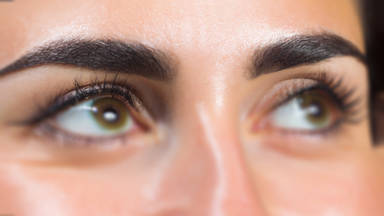
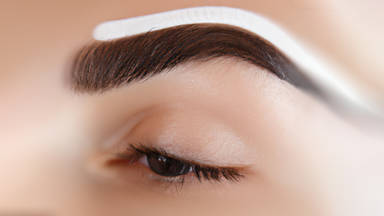
In order to split the bangs in two, you must start from the middle. Splitting the hairline in the middle in a straight line is easily accomplished by using the brush tip directly on the line that follows the nose. As an alternative, you can separate the bangs in a zigzag pattern, though a middle split is not recommended for people with long foreheads or oval faces. The thinner layers of hair around the face can also be separated and curled.
After that, you should create some lines along these layers of hair and attach them to the sides. By attaching a hairpin to your hair, you can mark the spot where you want to create your hair lines. It would be a good idea to decide on the lines and form them first, and then apply your styling spray in a circular motion. You also can use some shine spray after you've created the lines and used the styling spray on it.
In the back, use a hairband to tie the hair in place after creating the lines. Using hairpins allows you to hold the lines fixed in place. You can remove the hair pins once you have tied your hair.
The one half of the ponytail will be used to make a prosthetic and the other half will be used to create a bowtie. The hair should be divided into two parts, one of which should be set aside, while the other half should be used to create the prosthetic. The hair can be encased in a net if you wish to completely tease this layer. A prosthetic can be made from the hair by forming a ball. You can cover the prosthetic with the other half of the ponytail by bringing it on the prosthetic and creating a few lines on the layer.
It is best to separate the second layer into three parts, with the sides being a little thicker and the middle part being a little thinner. Hair cream can be applied to the hair if you prefer, and it should be styled after it has been teased. The bowtie can be made as is, but it is much better if the two layers on the side are swapped accordingly.
Straighten the hair after swapping the layers and applying hair cream, styling spray, shine spray, or any other product you wish. Once your hair is completely dry, spray some more styling spray on the top and bottom of it. When that's done, straighten the hair with your hands, brush it, and blow it so you can dry it.
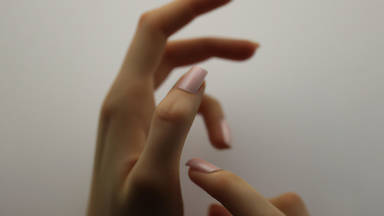
The hair should be twisted around a finger and a hairpin should be attached at this point. Do not twist the hair until it is completely dry. Place your finger on the hair layer, twist it around your finger, and then place it inside the bowtie. Keeping the bowtie stiff is made easier by this.
You probably already know what to do with the middle layer, which is the easiest part of the entire process. All you need to do with this layer is to brush it, and then spray it with some styling spray and / or shine spray if you wish. The layer can then be formed with your hands. Your chignon can actually be completed with three layers of twisted hair, which is called a bowtie. Putting a hairpin completes the process for your chignon by fixing the hair layers.