We associate Ombre and Balayage with teasing the hair and covering it with foils. There are, however, other key factors to consider when doing an ombre or balayage.
Type and size of your brush are the first factors you need to consider. Using different brushes of different sizes will result in different types of tease, which will, in turn, affect the outcome of the process.
A second very important factor is the type of teasing you do and where you do it. The type and location of the teasing will directly affect how or where the process turns out.
The third factor is how you section or separate the hair. The same way you can create highlights, you can accomplish all types of Ombres by using static hair separation methods before tease the hair. When working on another person's hair and they show you a picture or describe the style, you have to separate the hair differently so that it matches the style.
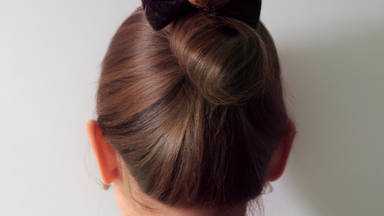
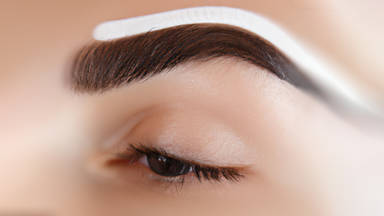
A typical hair separation style
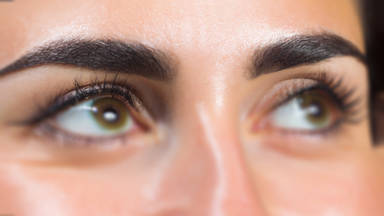
Begin by separating the hair on the top of the head from the two eyebrow arches; then separate the hair on each side of the head until the back of the ears. And finally, separate the hair at the back and tie it with a hairband.
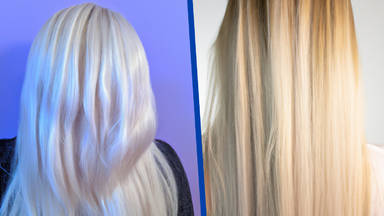
It is now time to decide how the Ombre should look. Sometimes the person wants the lower part of their hair to be blonde and the upper part to be darker. Usually, the upper part of the hair stays intact, and then the lower part is bleached blonde.
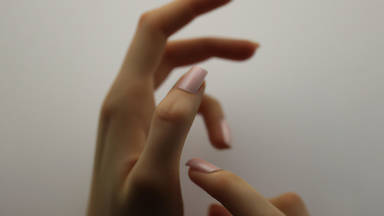
If you want to tease the hair, position the brush on the border of the hair where you want it bleached, hold it loosely, and then start brushing towards the roots. Stop brushing just before reaching the roots.
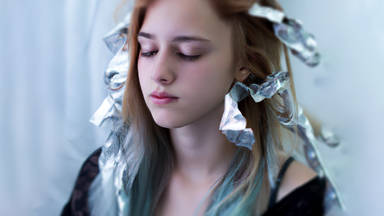
It is now time to begin applying the bleaching solution to the hair. Because of the type of separation, we must start at the back. If you want to do this using a foil wrap, you must bend the tip of the foil, apply the product, and then place the hair on the foil.
You should apply more product on top of the hair layer with the brush, making sure the majority of it is applied to the lower part of the layer. Then use the brush to push the product upward towards the teased hair border. This layer will be lifted only up to the border where we teased the hair. We will not move past this line. It is important to fade this line in an orderly manner. Bend the foil properly and proceed to the next layer.
If you've ever seen hairstyles where the crown is darker, and the sides are lighter, this sectioning requires that the hair at the top is separated into a triangle to the back of the head. The hair in the middle center in the back and the two layers on each side are separated as well.
Ombre hairstyles of this type require careful consideration of the individual's preference. Sometimes, the person prefers two small sections of light hair at the front. In most hair models of this kind, you've probably seen someone with light hair, but part of the hair is lighter than the rest.
That kind of Ombre is done by separating a part of the hair with the desired length and wrapping it in foil wrap. The separated section creates the front of the hair. There is no need to tease the section; simply wrap the whole thing inside foil wrap to create the Ombre. This layer is where we want the hair to be lighter. Ensure that your foil is bent neatly so that you can unwrap it easily for checking. This style is a personal preference and is not something that everyone likes. However, I thought you would like to know about this layer since many people ask me about it.
Using the brush close to the root, tease the hair while still keeping some distance from the root, and then bleach the side of the hair very close to the root. After the teasing, place the hair on the foil sheet. Continue this process and separate all the layers of hair on the side of the face diagonally.
For this part, it is better to separate the hair on the crown of the head and wrap it inside foil wraps. Do the same on the opposite side of the face until you reach the back of the head.
Having completed the work on the two sides, it is now time to work on the back. In the case of bleaching parts on sides or the front before we finished the rest of the work, you simply remove the foils, remove the product, and continue with the rest of the process.
The hair needs to be separated from the bottom up to the crown. Separate the hair from the bottom in straight layers. Next, we need to tease the hair close to the root in the crown area and wrap it in foil.
As I mentioned before, the sides are supposed to be lighter, and the top should have fewer highlighted layers. Therefore, we will use a smaller brush on the top.
Each time you separate the layers, you must tease the hair from the middle of the layer like the previous one. This is because we want the top of the head to be a little darker. We want around the head and the back of the head to be light, but the top of the head a little darker.
As soon as we finish this part, we will have completed our Ombre and it concludes our tutorial. I hope this article has been beneficial to you.