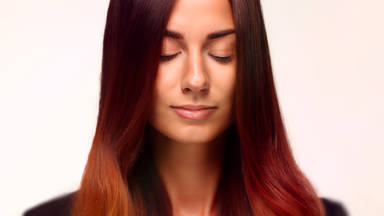
Your hair will appear more dimensional and deeper with Ombré highlights without the maintenance burden that comes with regular highlights. In the last few years, Ombré highlights have become increasingly popular. It is common for salons to charge high prices for these techniques to make a fortune out of people who are unaware of how to perform them on their own. In this article, we are going to show you how to combine highlights and Ombré, using a unique mix of techniques. This process involves applying ombre highlights around the head and highlighting the hair at the top with a highlighting cap.
To avoid any unexpected side effects, ensure you wear plastic gloves when dyeing your hair, cover your hairline and ears with petroleum jelly, and wash your hands before starting.
Generally, people prefer not to highlight their head hair from the roots, but rather the top and back parts of their hair. So, you separate your hair based on your preferences and then, you can start teasing the hair hanging around your head. If you prefer, you can divide the hair into V-shaped layers before you begin the Ombre process.
Aside from that, you will need to use less material when you choose a thinner layer because it will reach its intended bleaching sooner.
The hair layers should be teased all around the head, and each layer should be very thin. Having teasing this layer, you can start teasing the front layer in a similar manner. It is possible to stop the teasing at this point if a person wants the highlight to be lower; if they want the highlight higher, they should push the hair up some more.
It is time to start applying the material after all the layers have been teasing. Since I've been teaching hairstyling classes and online courses for the last few years, I have observed that many people have difficulty applying dye close to the teased area.
Often, redness near the hair root is caused by improper tease of the hair and incorrect application of the dyeing material. It is best to apply some of the foil wrap material right in the middle of the hair layer. To prevent any damage to your hair, use a white bleaching powder and a plant-based volume two oxidant. Using high-quality plant-based dyeing material can help you achieve better results if you have dry or fragile hair.
The material should be applied to the entire layer before moving to the top near the teased hair. It is better to flip the brush and apply the material diagonally to the top layer, rather than using the wider side to apply the material to this area, as this way you can avoid creating an ugly line on the hair.
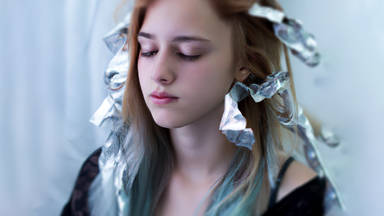
You should bend the foil from both sides after applying the material. Ideally, the sides should not be smeared with material to avoid getting it on other layers. For this reason, all the hair layers on the sides of the head must be applied with the material before they can be wrapped in foil.
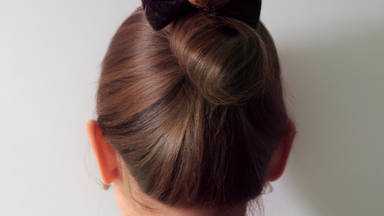
Once all the layers on the sides are wrapped in foil, a highlighting cap can be applied to the top of the head. After brushing the hair at the top to the back, place the layers you wish to highlight inside foil wraps.
You will need to put some baby powder inside the plastic cap, place it on your head, and start to pull the hair layers out.
You can pull out all of the hair layers from the holes in the cap if the person prefers to have ninety percent of the hair highlighted. When this is the case, the usual rules don't apply, so you just pull all the hair layers from the holes in the cap and highlight them.
It is possible, however, that some people would prefer to have the highlights separated with a little more space, in which case you would pull the hair out of one hole and then skip one and move onto another.
In order to increase your speed, you can start with one layer in the center of the forehead, and then the next layer can be pulled out from the next hole. The hair should be pulled out in a straight line, so start from the front, then pull it out of the hole directly behind it, then behind that, and so on.
Curly hair should be brushed before styling. This will make the process much easier for you. In case the type of cap you are using does not already have its own holes, you can create holes on the cap yourself so that the hair layers can be pulled out directly
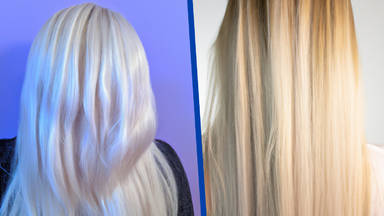
The material can be applied after you have pulled out the hair from the cap. The material is typically applied evenly across the cap, but the result can be uneven. Because the hair root is usually warmer, it bleaches faster. However, the middle of a hair strand takes the longest to bleach, and even the end of the strand, which is exposed to more air flow, bleaches faster. Nevertheless, If you wrap the cap in foil, the process will run faster as the foil wraps produce more heat, allowing the layer to bleach evenly. TL;DR: Cover the area with a foil layer after applying the material to the hair.
Keep an eye on the Ombre highlights while you wait for the hair layers to bleach. You can use the blue powder and anti-red oxidant if you need to reapply the material. Otherwise, use a clean cloth to remove the material.
Once all the layers of the hair, including the top area, have been completely bleached, you can rinse and then dye the hair.